Collection: Changing Ladybugs

Follow up a unit about a ladybug's life cycle with this minibooklet. Students can use it to summarize what they've learned about metamorphosis or simply for creative writing!
Materials:
- Westcott 5” Kids scissors
- 4 1/2" x 12" red construction paper strip
- 4" red construction paper circle
- 6" black pipe cleaner
- 1 1/2" black pom-pom
- 2 wiggle eyes
- brad
- crayons
- glue
- black marker
Brought to you by Westcott – The World’s Favorite Scissors

Step 1
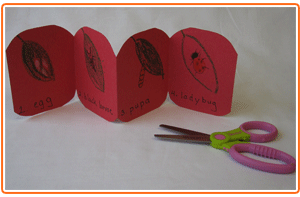
Accordion-fold the paper strip to form four equal sections and then round the corners. In each section, draw and label the stages of a ladybug's life: egg, black larvae, pupa, and ladybug.

Step 2
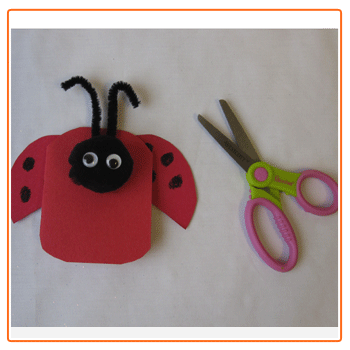
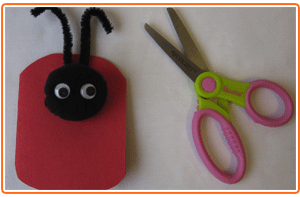
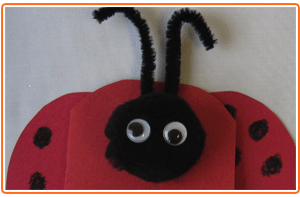
Cut the pipe cleaner in half (antennae). With the booklet closed, glue the antennae to the top center of the front cover. Glue the pom-pom (head) on the base of the antennae. Then glue the eyes to the head.

Step 3
Cut the red circle in half to form wings and color to add black dots. Attach the wings to the booklet with the brad.
Adult supervision is recommended when children use scissors.
©
2016
Acme United Corporation. Text and design by The Education Center, Inc.®


